Overview
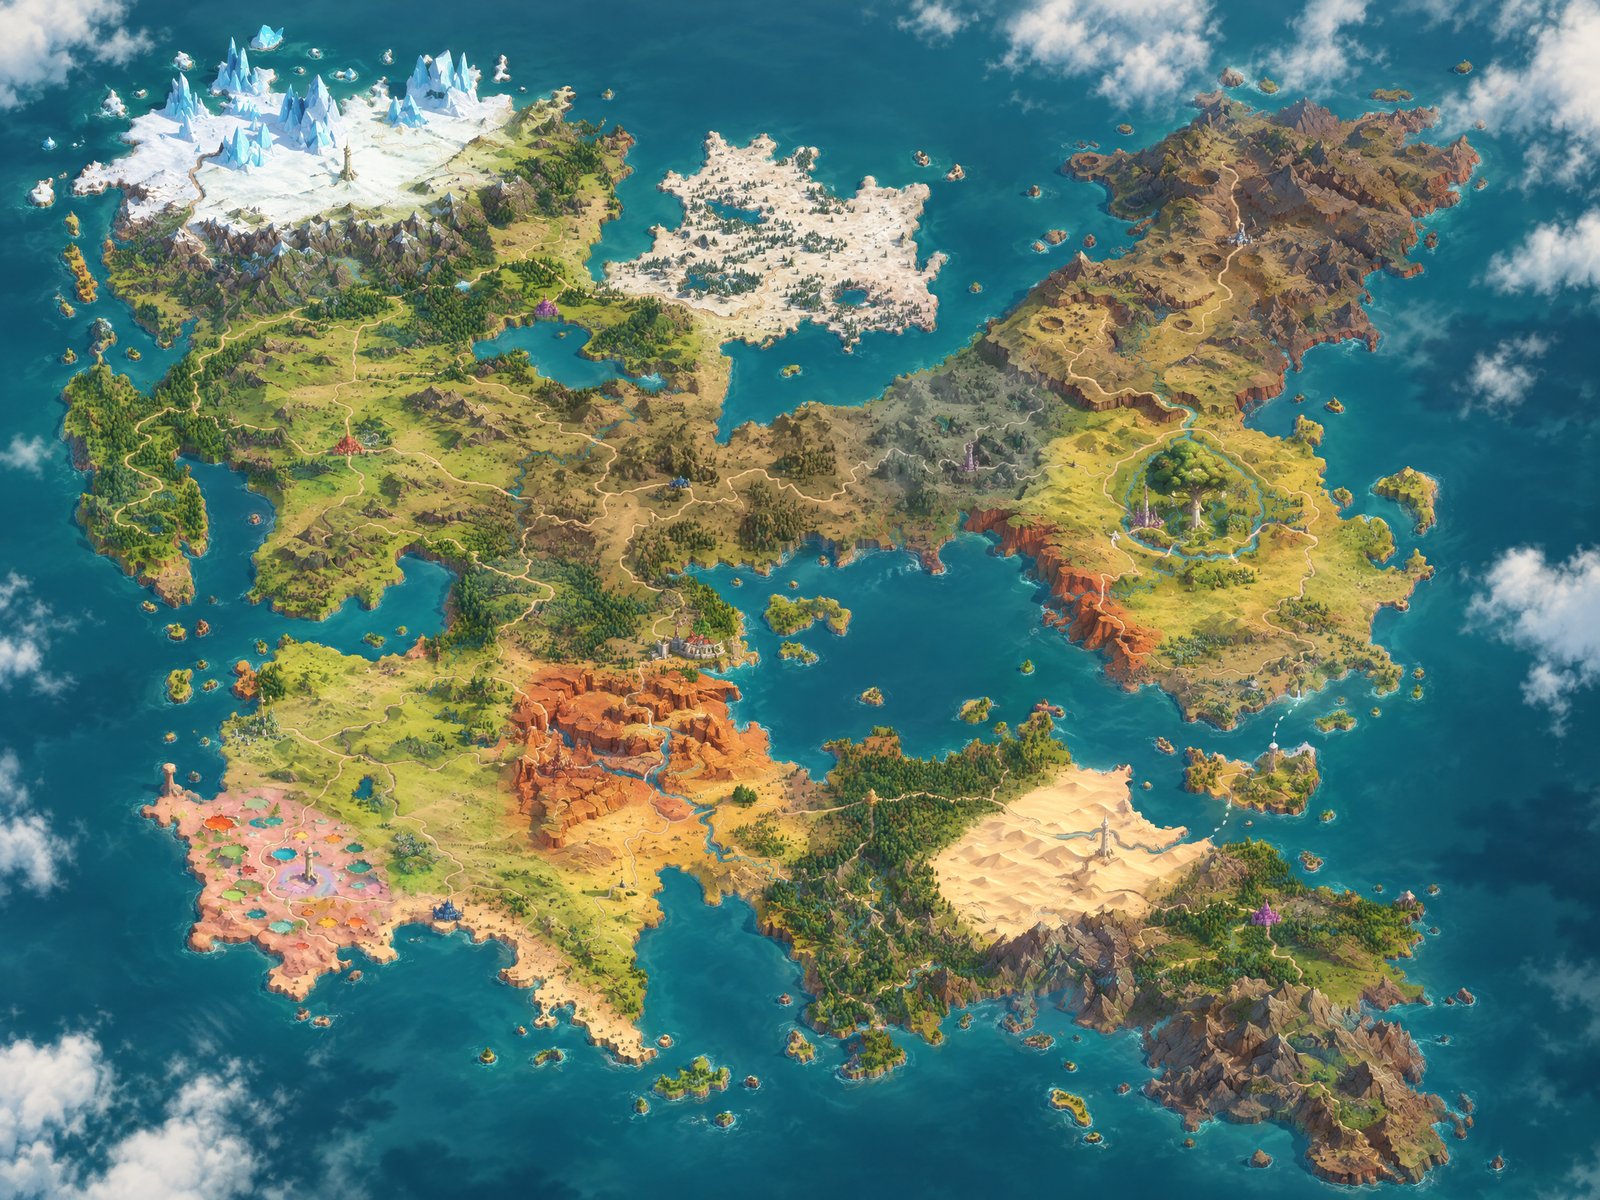
The map above shows Aysol's full shape: a C-shaped continent around an inland sea, plus a tundra island to the north.
The four spires
Every spire shares the same design — the only difference is each Guardian's overflow, visible from a distance.
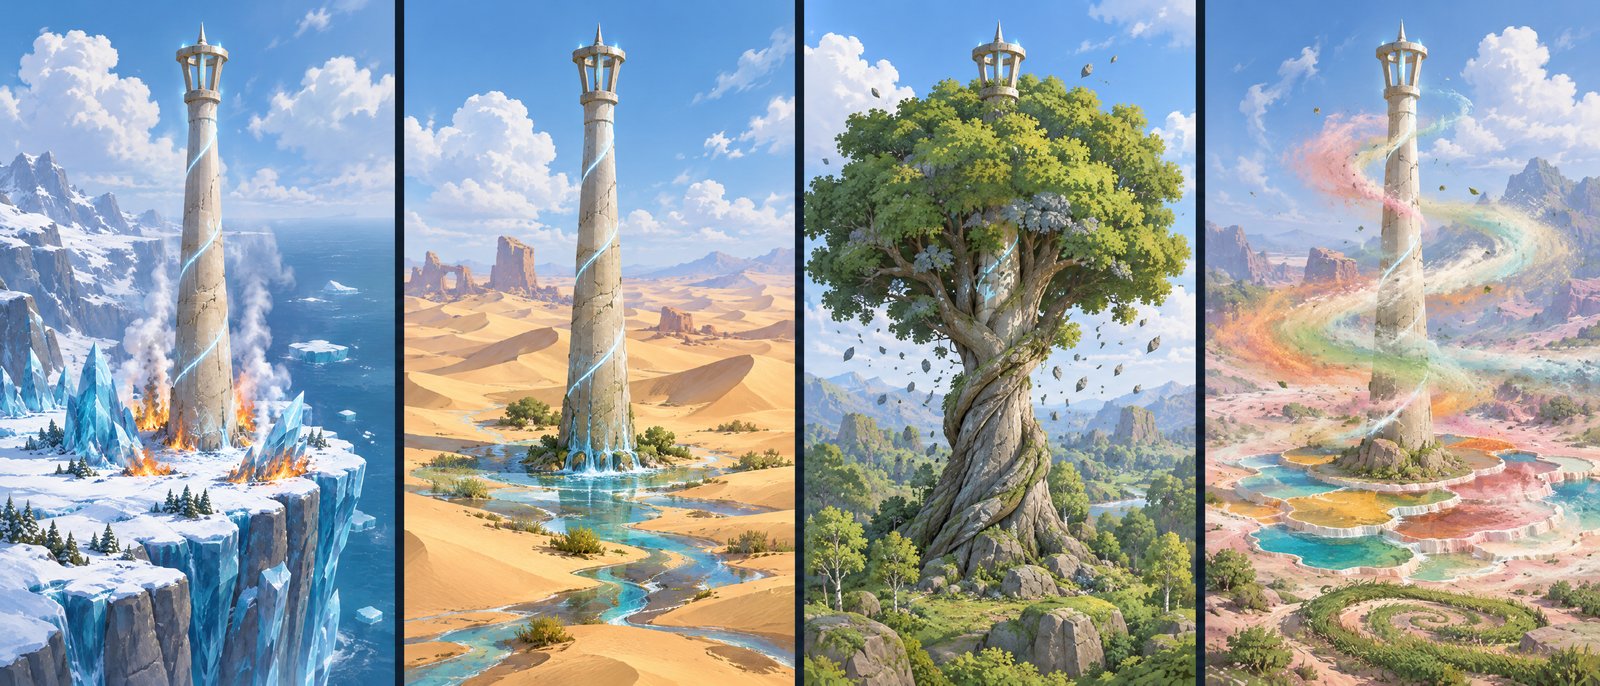
See World and Regions for what each overflow does.
Elevation
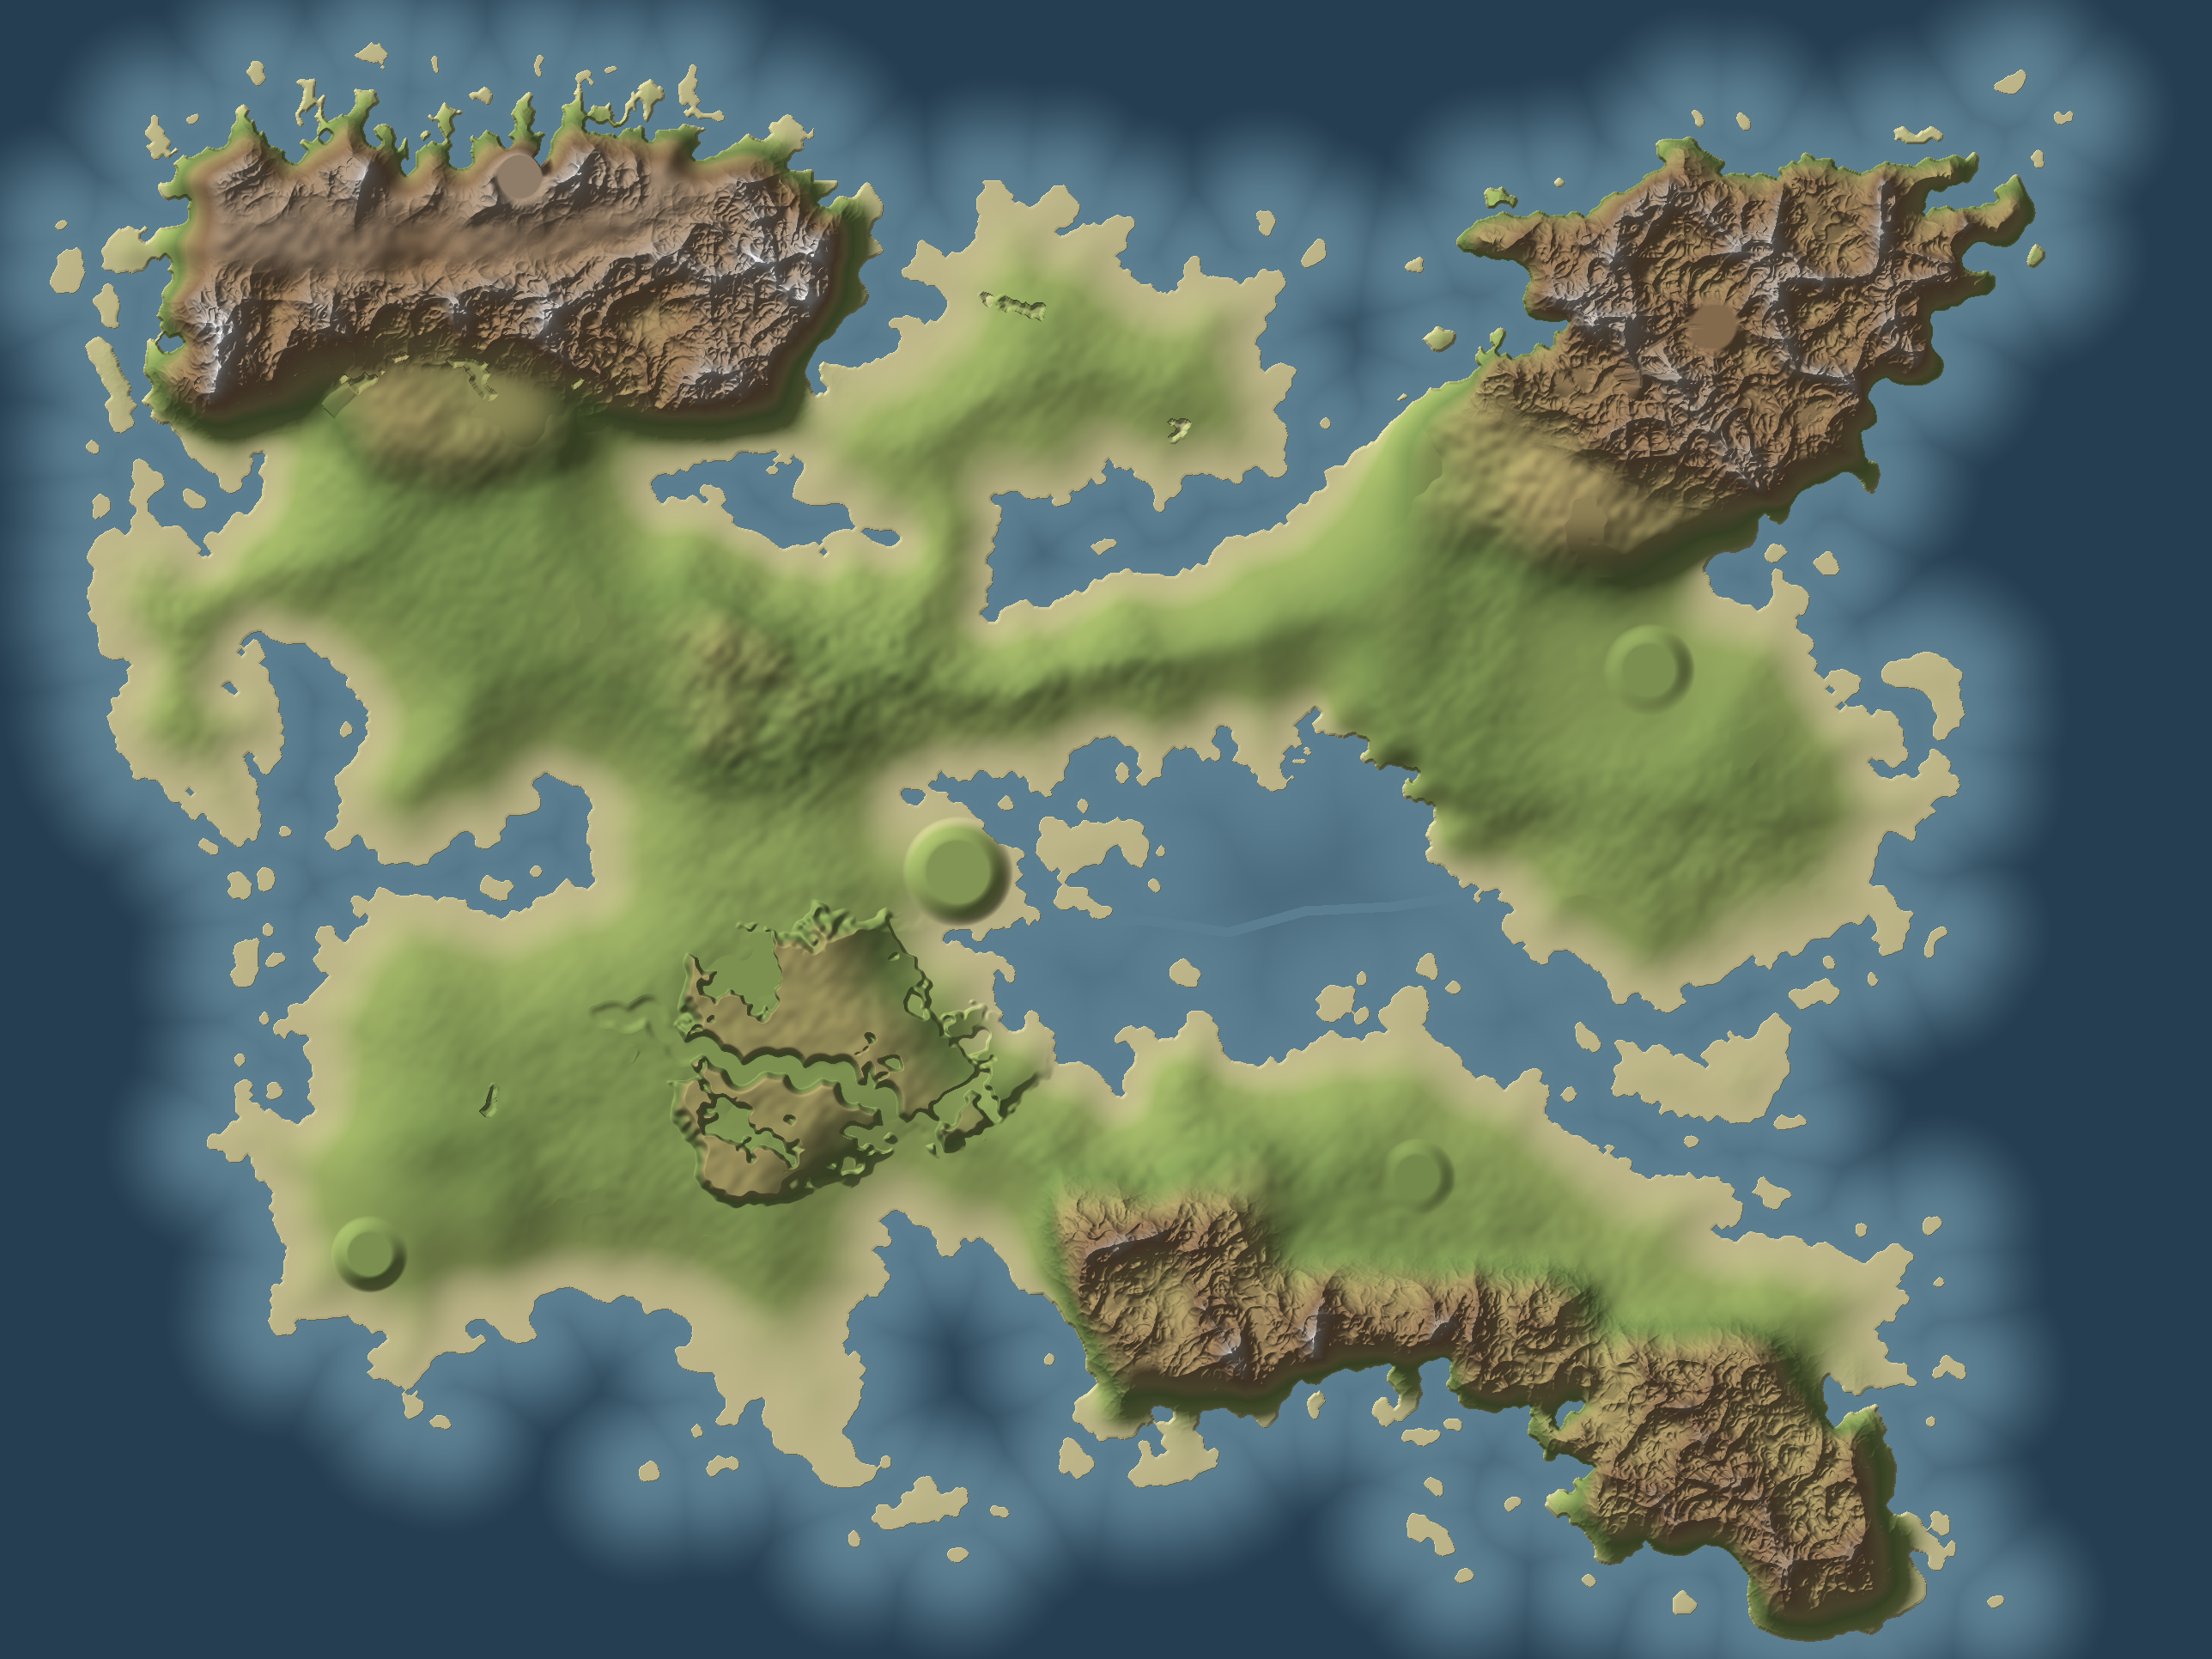
Sea level is 0; the highest peak is about 410 m. Three-quarters of the land lies below 100 m.
Regions and zones
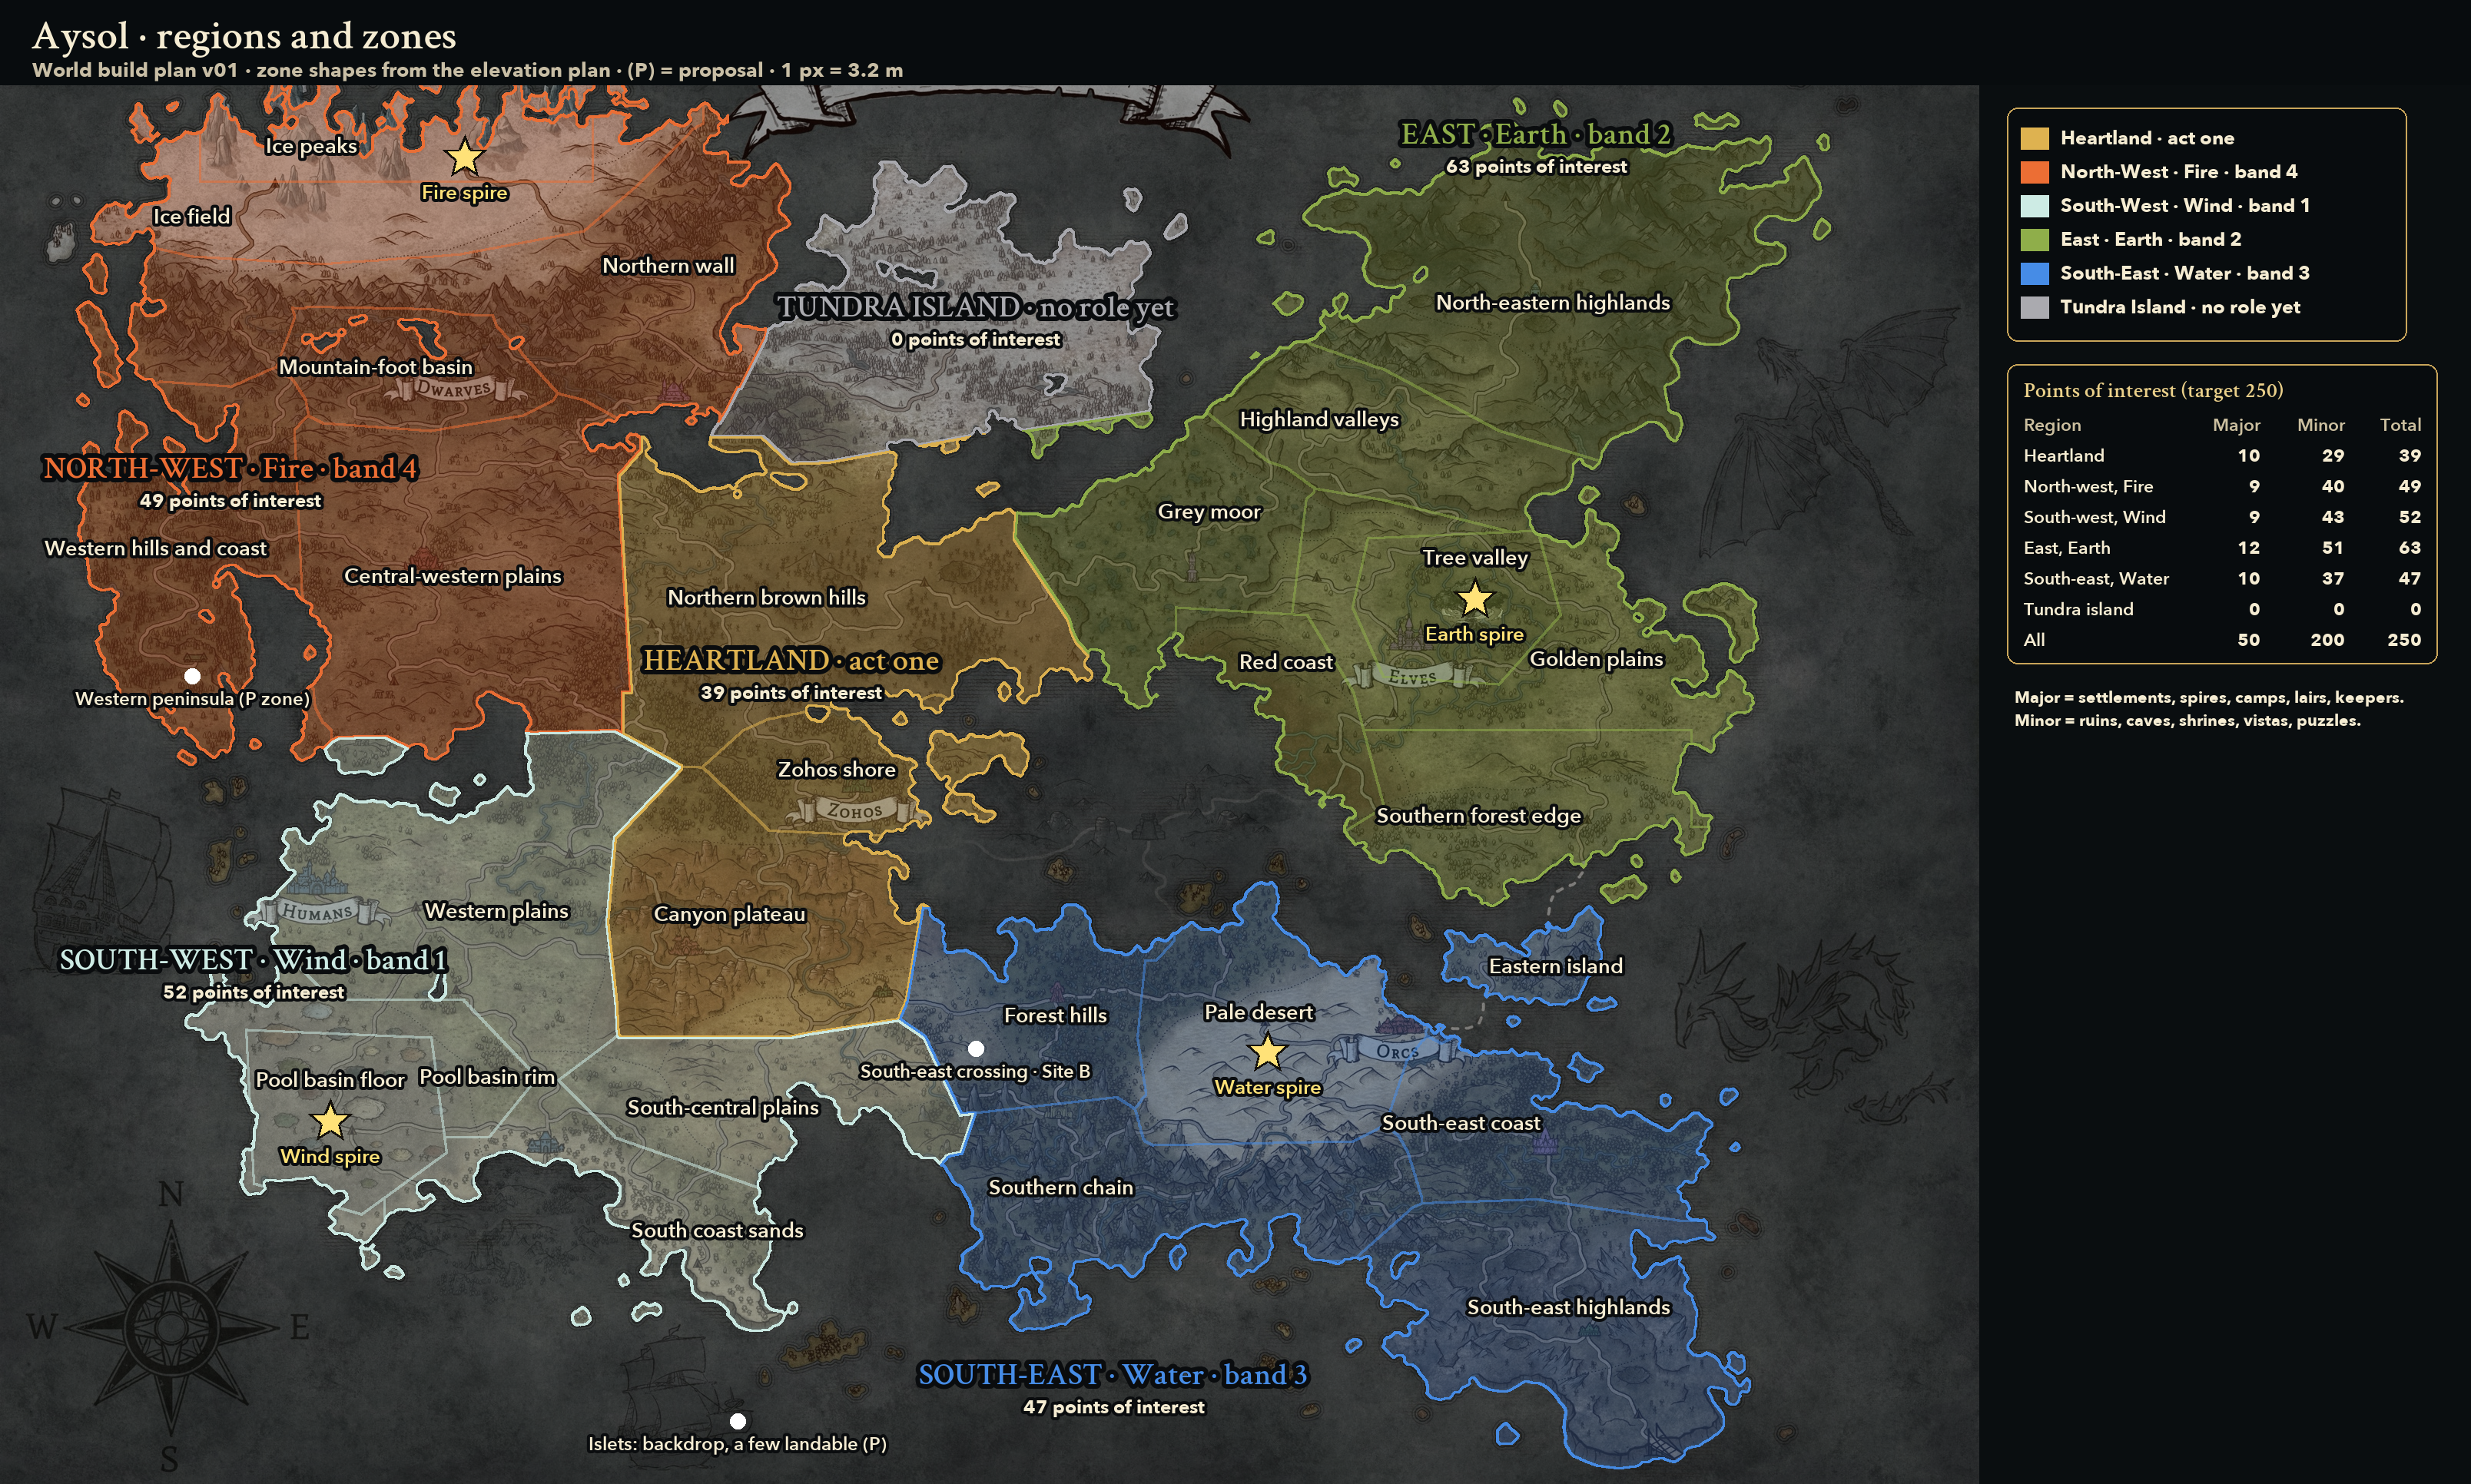
Each region breaks down into a handful of zones — stretches of land with their own look and role. This map is planned, not final.
Points of interest and routes
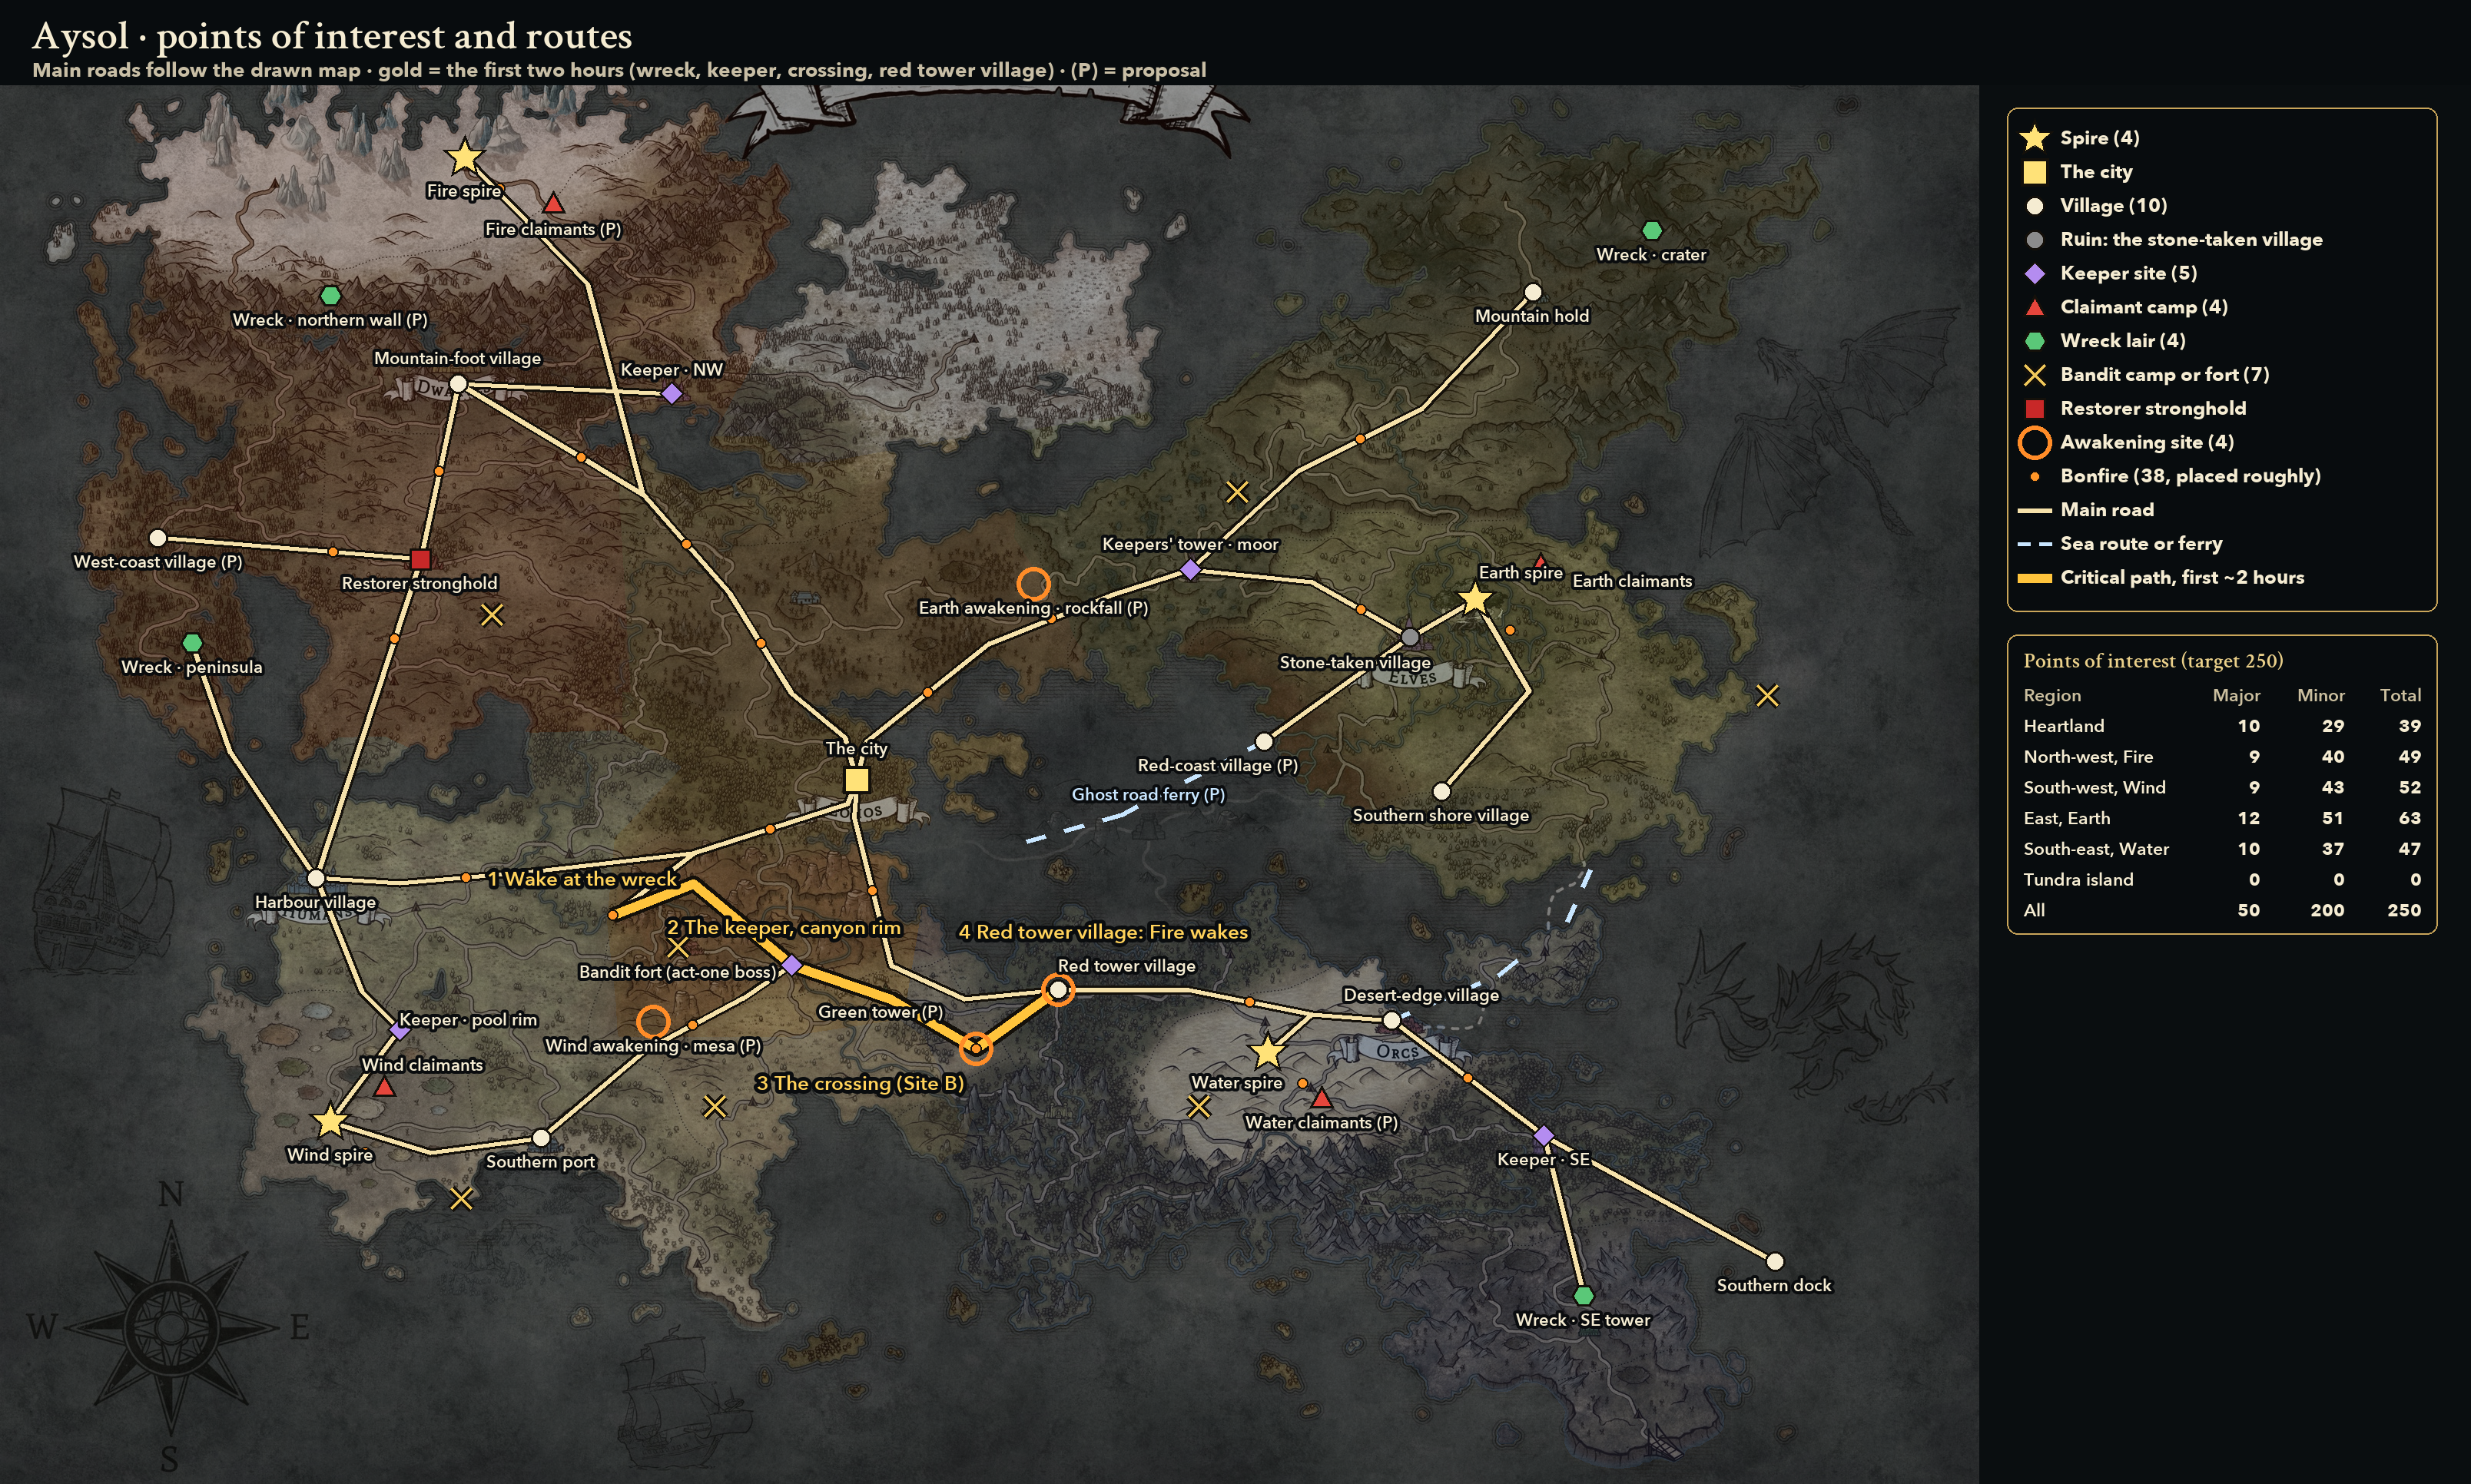
Villages, spires, camps, keepers and the main roads between them. The gold line is the route the story takes through its first two hours — see below.
Build order
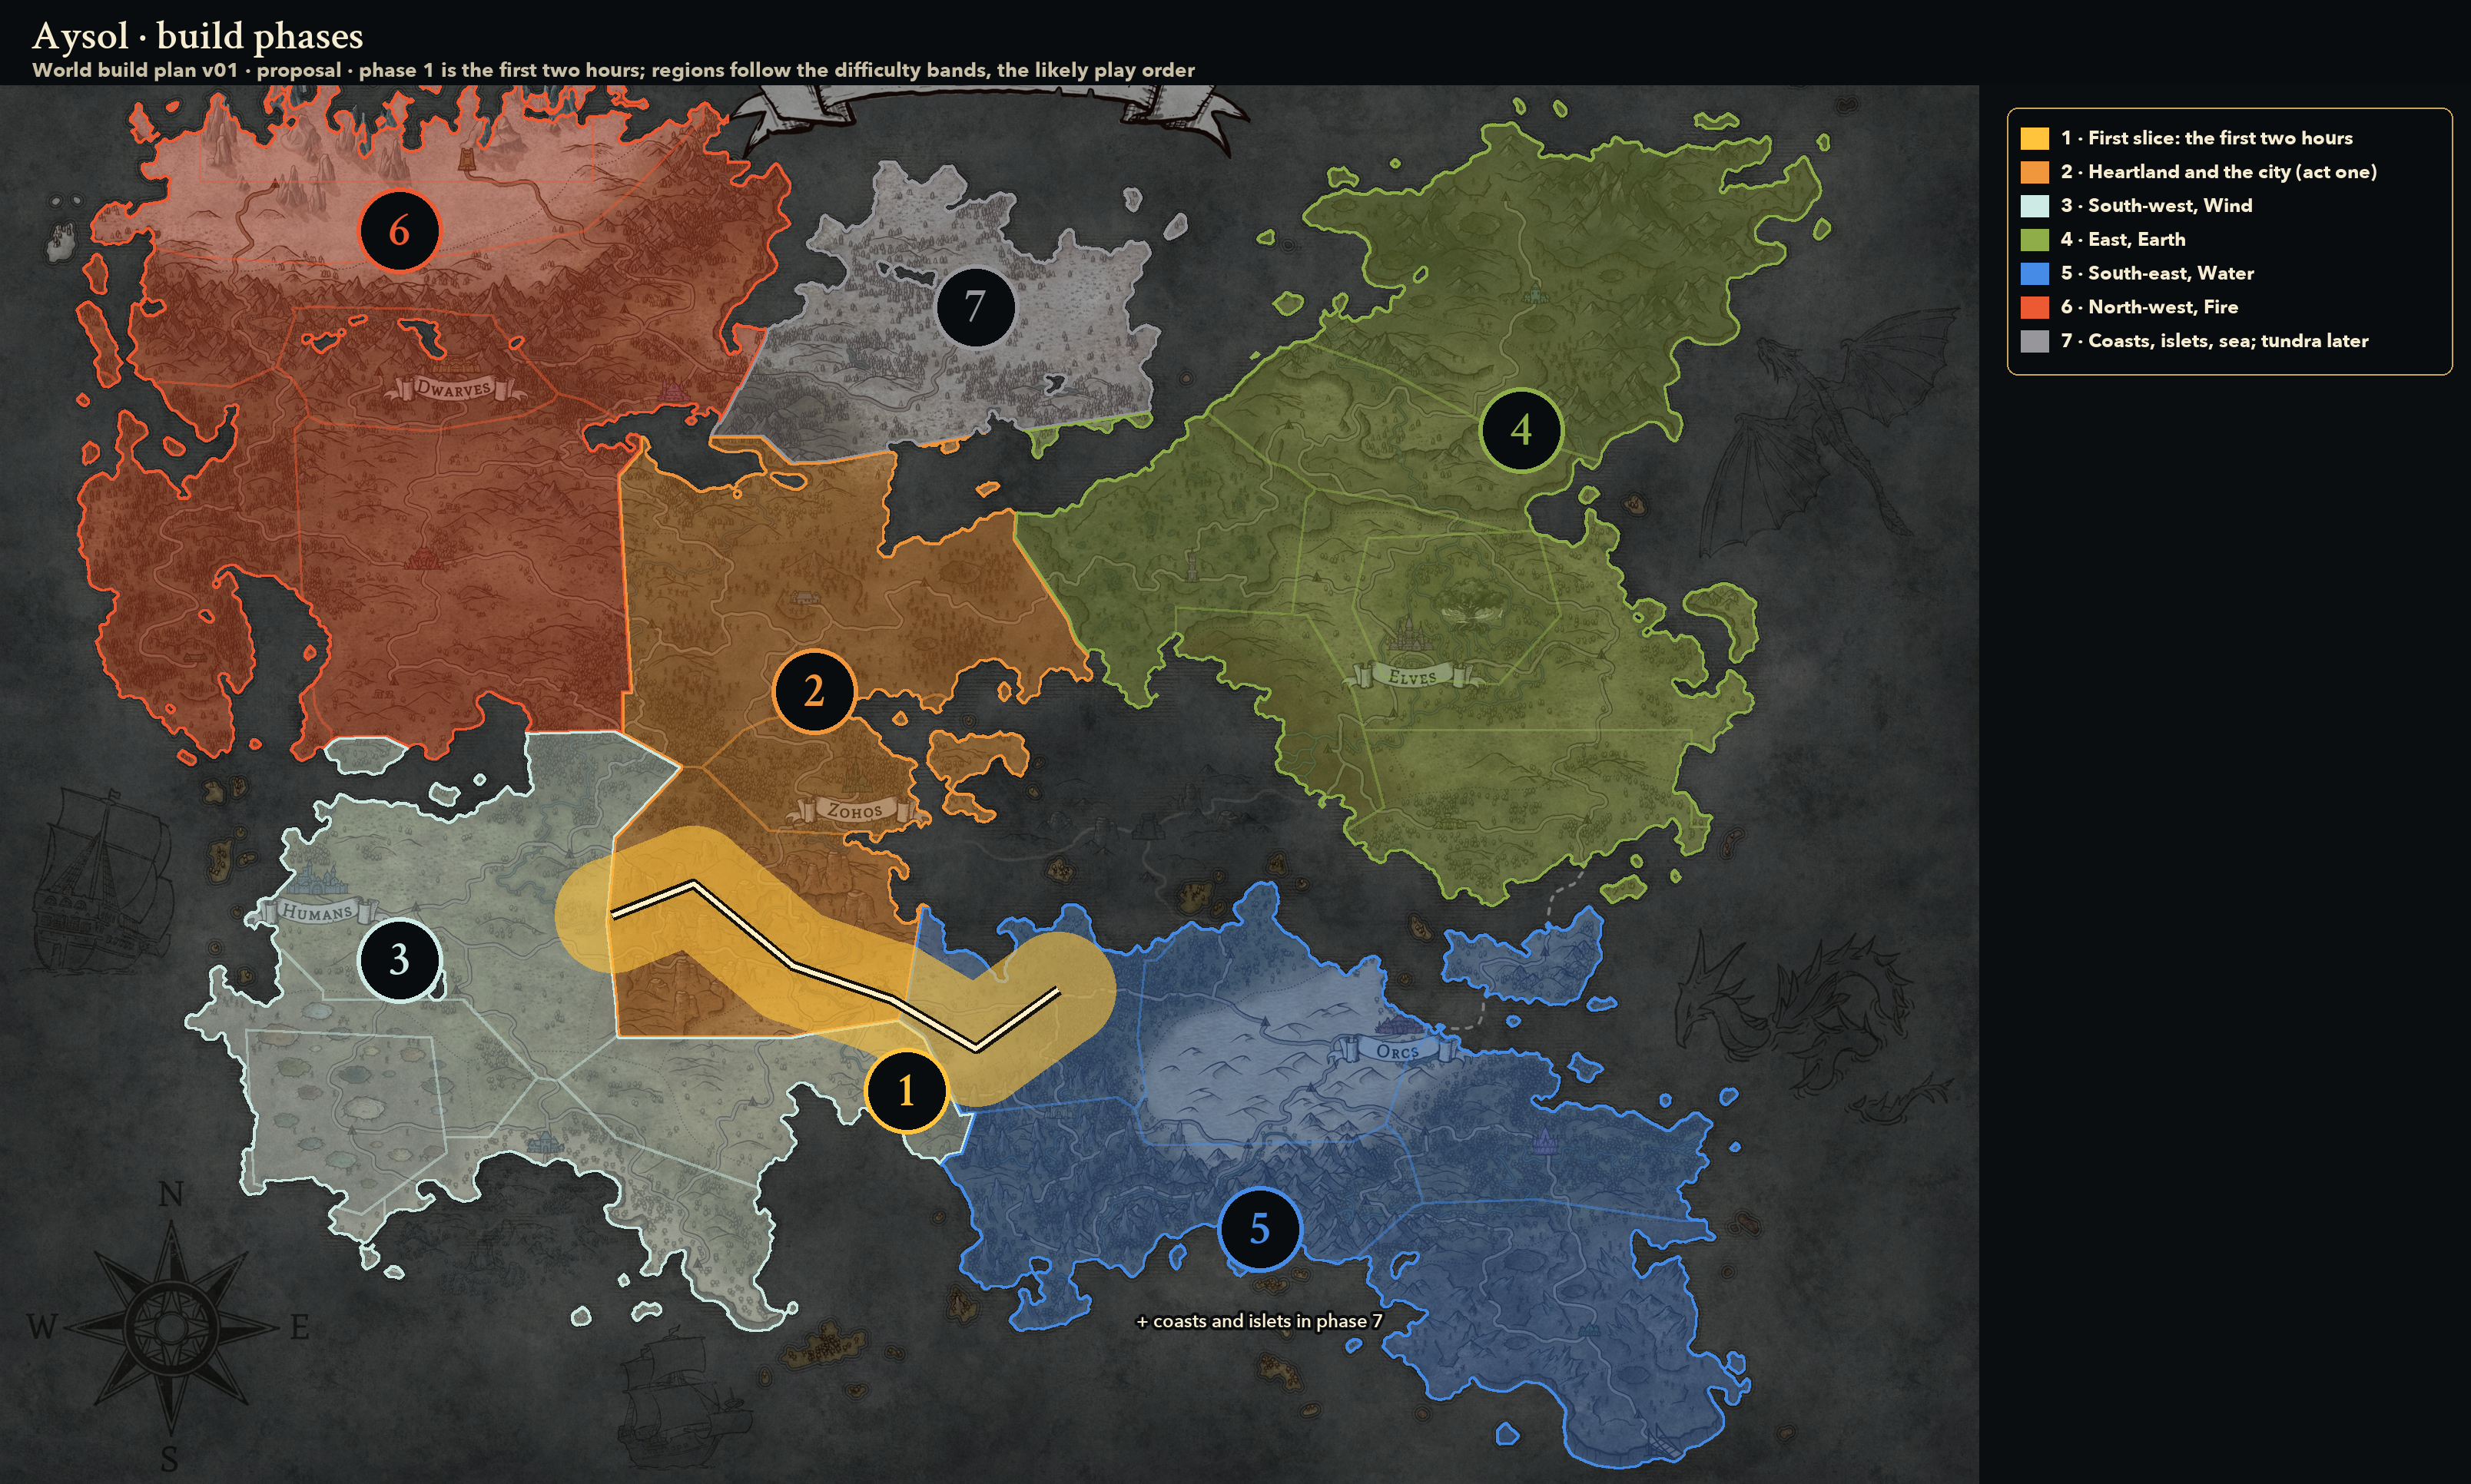
The regions are being built roughly in the order the story visits them, starting with the first two hours. This order is planned and may change.
The first two hours
The very start of the game, in order:
| Step | Where | What happens |
|---|---|---|
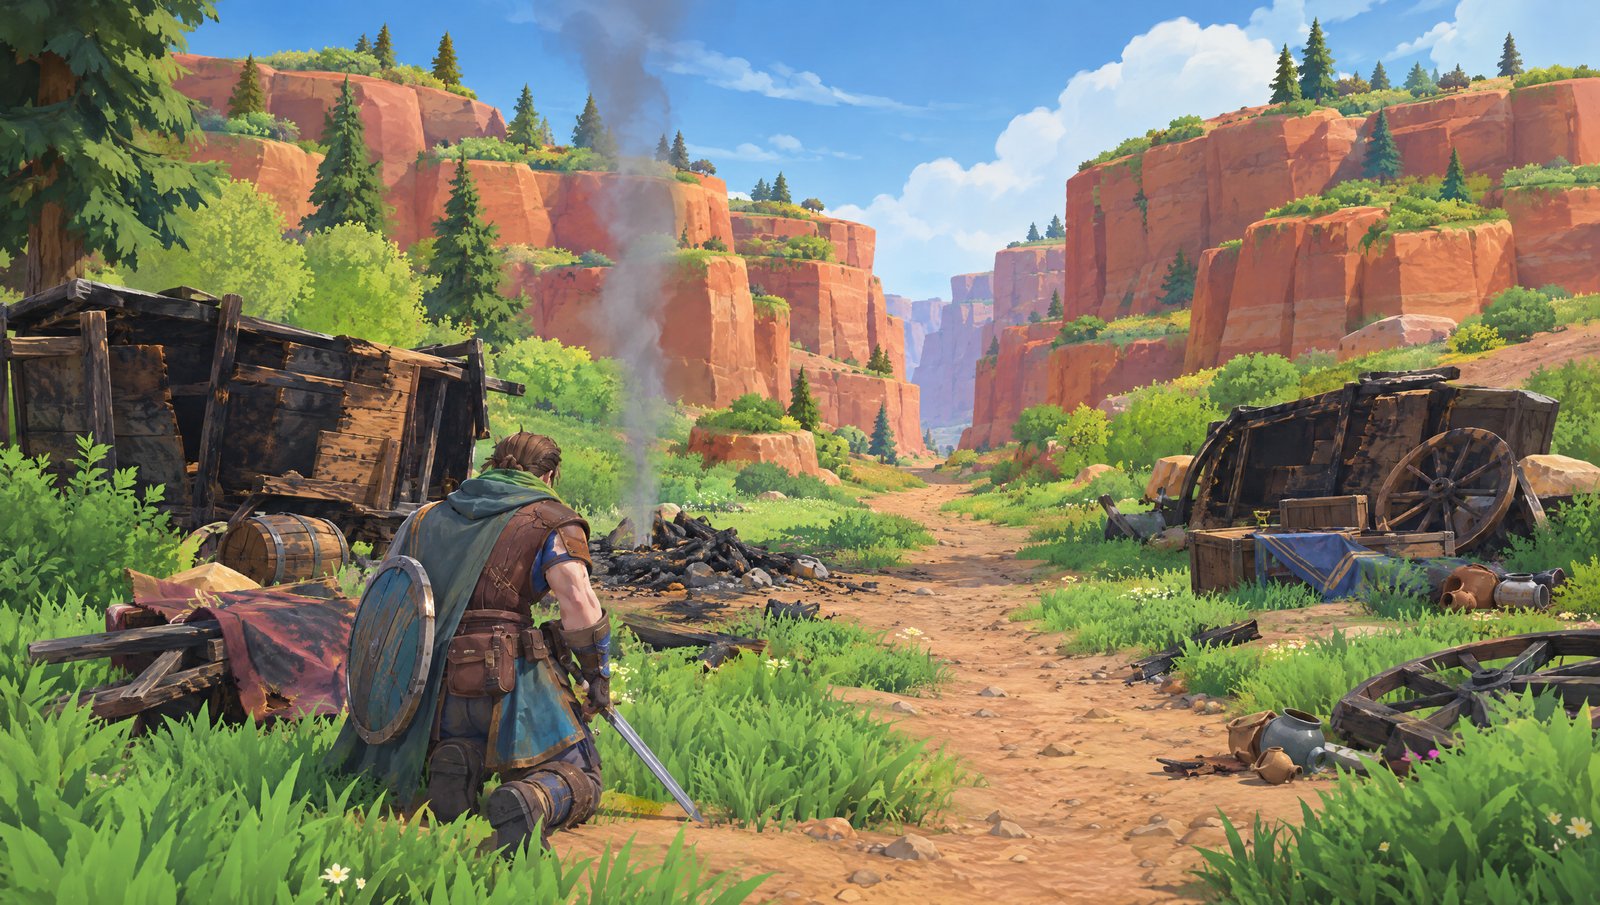
| 1 | The wreck, at the canyons' western mouth | The hero wakes alone in the wreckage of an ambushed caravan, among orange mesas. The first bonfire. |
| 2 | The keeper, on the canyon rim | A climb or path up to the rim, where the keeper offers the hero his first element — with all four spires visible on the horizon. |
| 3 | The south-east crossing | A stream, a waterfall, a ruined arch and a stone bridge. Teaches the sword and lock-on, the shield, the bow, climbing, and resting at a bonfire. |
| 4 | The red tower village | The village is burning when the hero arrives, and Fire awakens in the square. Once the fire is out, the same village is lived in again. |
The whole route takes roughly 60 to 90 minutes of play, comfortably inside two hours.
Regions
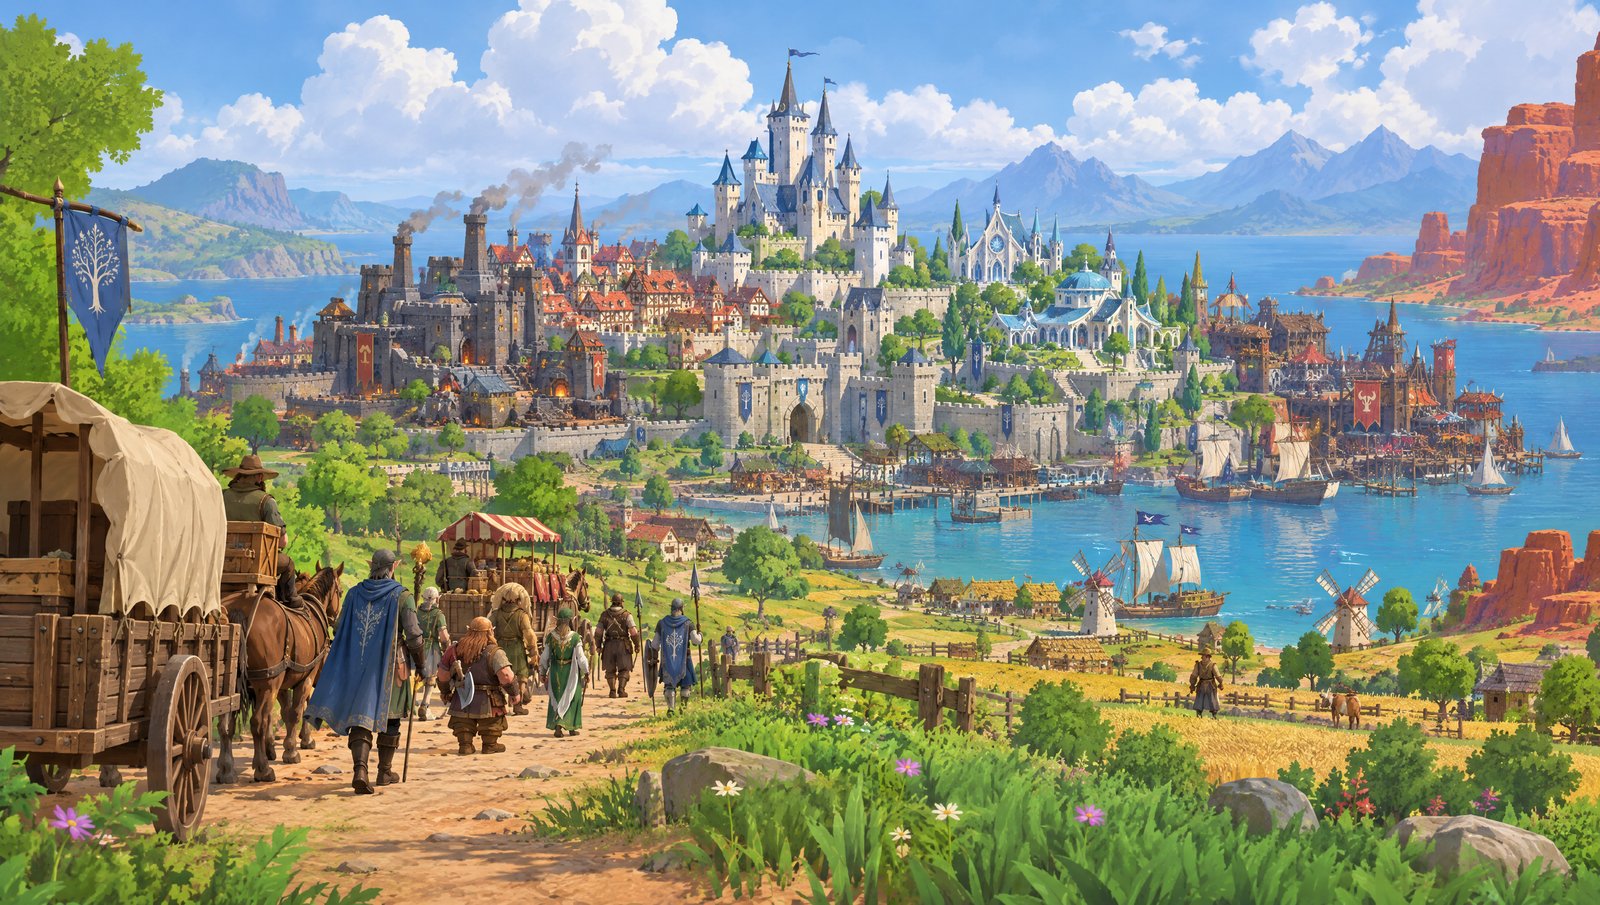
Heartland
Look: a green, low shore and brown hills around a castle-city, cut to the south by orange mesa canyons and a winding gorge, with mixed oak, birch and pine forest at the southern mountains' foot.
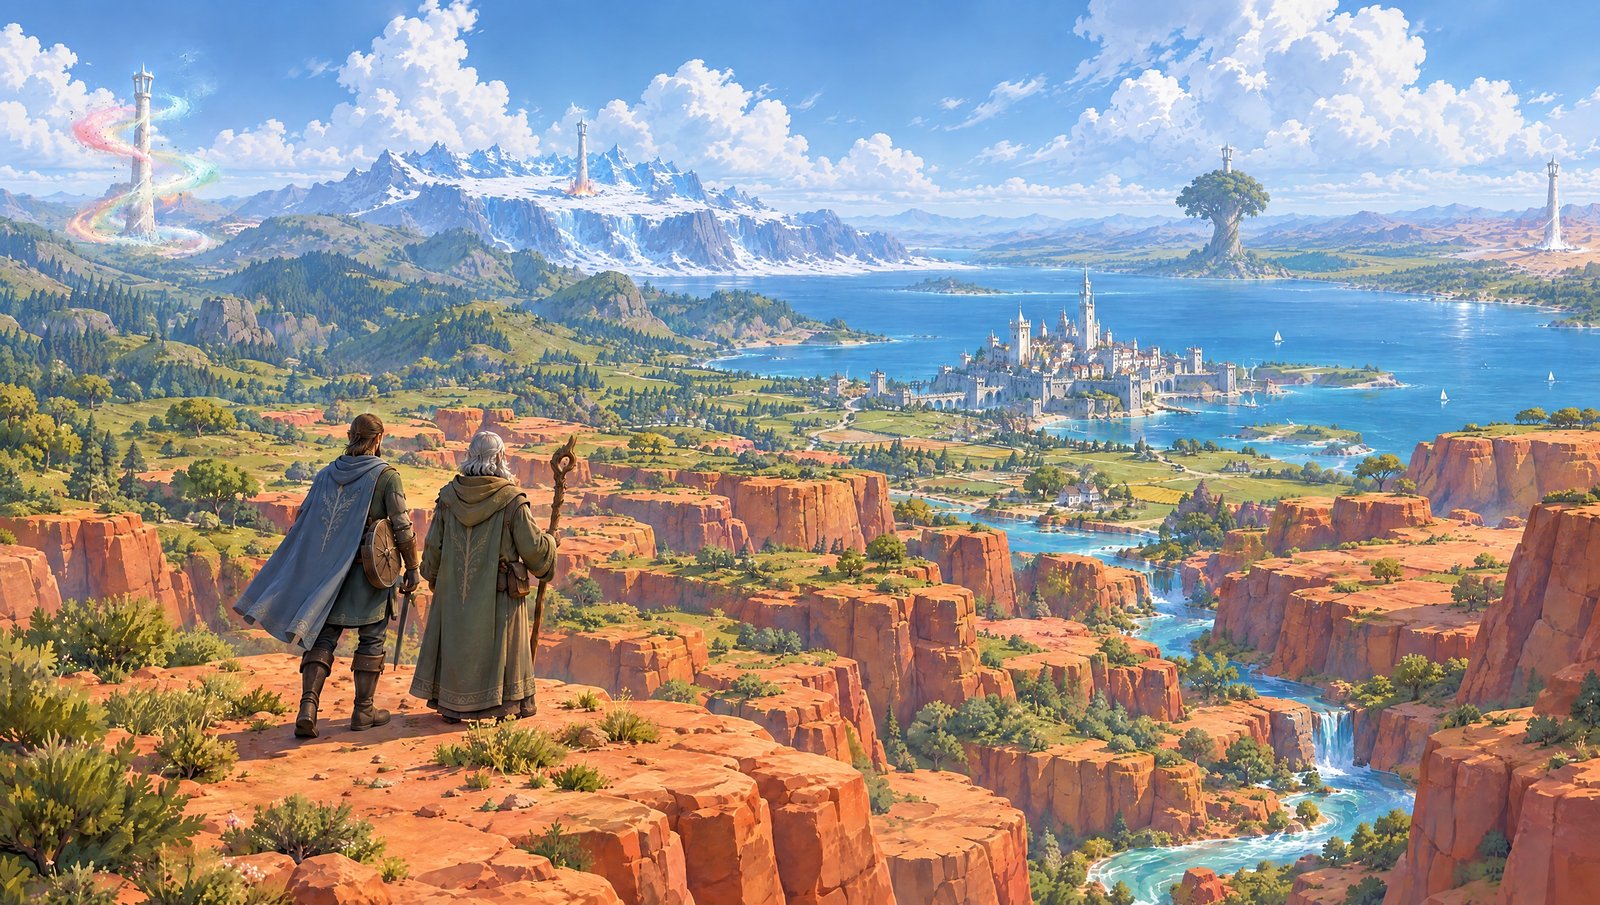
Zones: the Zohos shore, where the city sits above farms and the coast road; the canyon plateau, with its towering mesas, a deep gorge, the wreck, the keeper's rim and the bandits' fort; the northern brown hills, rolling scrub and woodland; and the south-east crossing, where the game's first playable area is being built now. A river gorge below the mesas is planned as a shortcut.
Landmarks: the city's castle, visible from everywhere in act one; the canyon lookout; the ruined arch at the crossing; all four spires on the horizon. A ruined watch tower south of the canyons is planned.
Settlements: the city, the only place where all four peoples live side by side; the wreck, where the hero's story begins; the keeper on the canyon rim; and the bandits' fort, act one's final fight. Fire and Water's awakening sites are set; Earth's (a rockfall in the northern hills) and Wind's (an exposed mesa top) are planned.
South-west
Look: open western grassland leading to a harbour, terraced coloured mineral pools on pale pink ground, and a sandy south coast reaching out to a long peninsula.
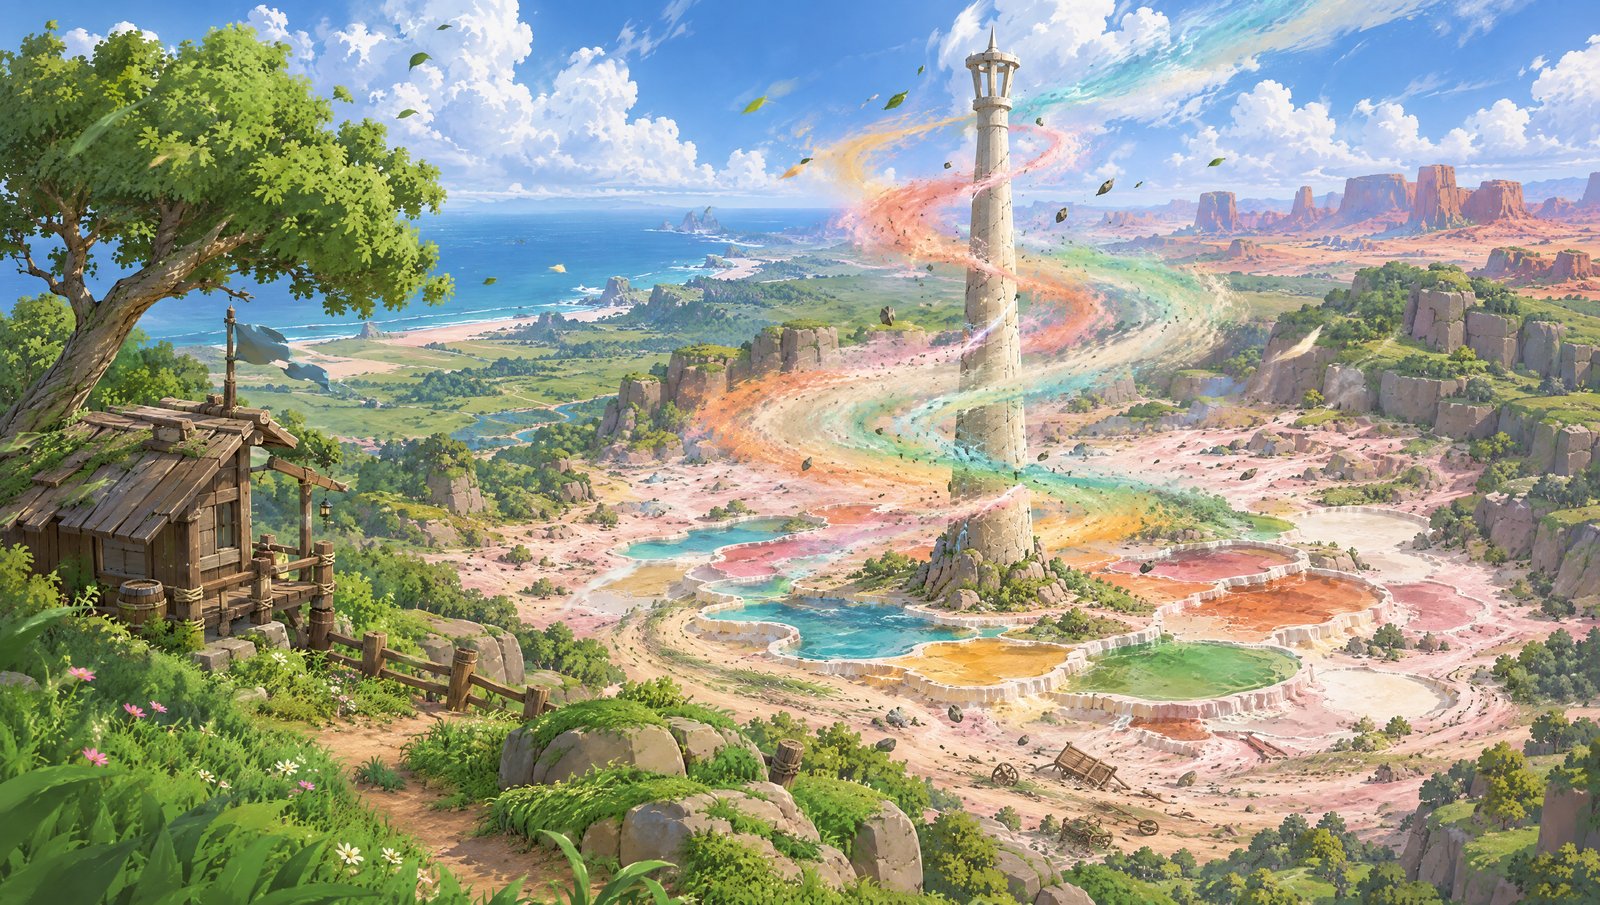
Zones: the western plains, home to the harbour village; the pool basin's rim, where the keeper watches over the claimants' path; the pool basin floor, where the Wind spire stands in its gale; the south coast's sands, near the southern port; and the south-central plains. A western peninsula holding a wreck is planned.
Landmarks: the Wind spire, standing in its gale with coloured mist torn from the pools around it; the harbour. A ruined watch tower on the peninsula is planned.
Settlements: the harbour village and the southern port, two peoples at odds over the region's dye trade; the keeper on the basin's rim; the Wind claimants, camped on the only dry path to the spire; and a wreck on the peninsula.
East
Look: crater-pocked brown highlands, a grey, misty moor, golden plains around a river-ringed valley where the great tree is slowly turning to stone, and rust-red cliffs on the inland sea.
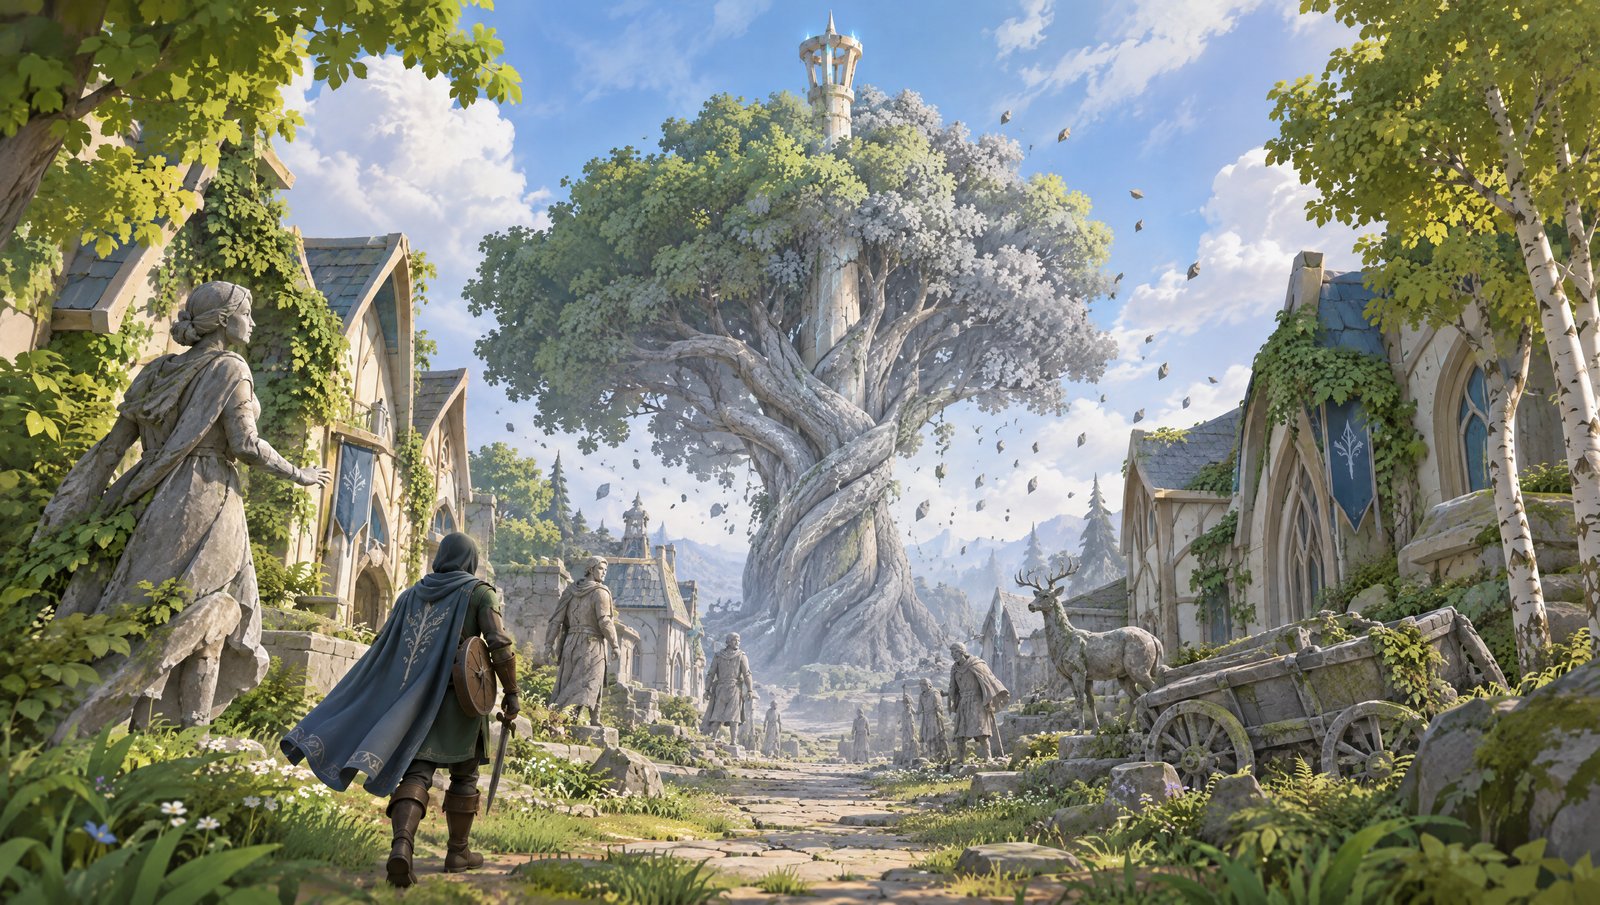
Zones: the north-eastern highlands, home to the mountain hold; highland valleys; the grey moor, where the keeper's tower stands; golden plains; the tree valley, holding the great tree, the Earth spire and the stone-taken village; the red coast; and the southern forest edge.
Landmarks: the great tree, turning grey from the trunk outward with the spire's crown rising above its canopy; the stone-taken village's petrified street; the mountain hold, perched high on a mountain shelf; crater fields; red coastal cliffs.
Settlements: the mountain hold; the southern shore village; the red-coast village, where an uneasy truce is kept; the stone-taken village, the hero's birthplace, now a ruin; the keeper's tower on the moor; and the Earth claimants, camped beyond the tree.
South-east
Look: forest hills giving way to a pale desert where a flood rises endlessly out of dry sand, under the southern mountains, then rugged highlands reaching a south-eastern dock.
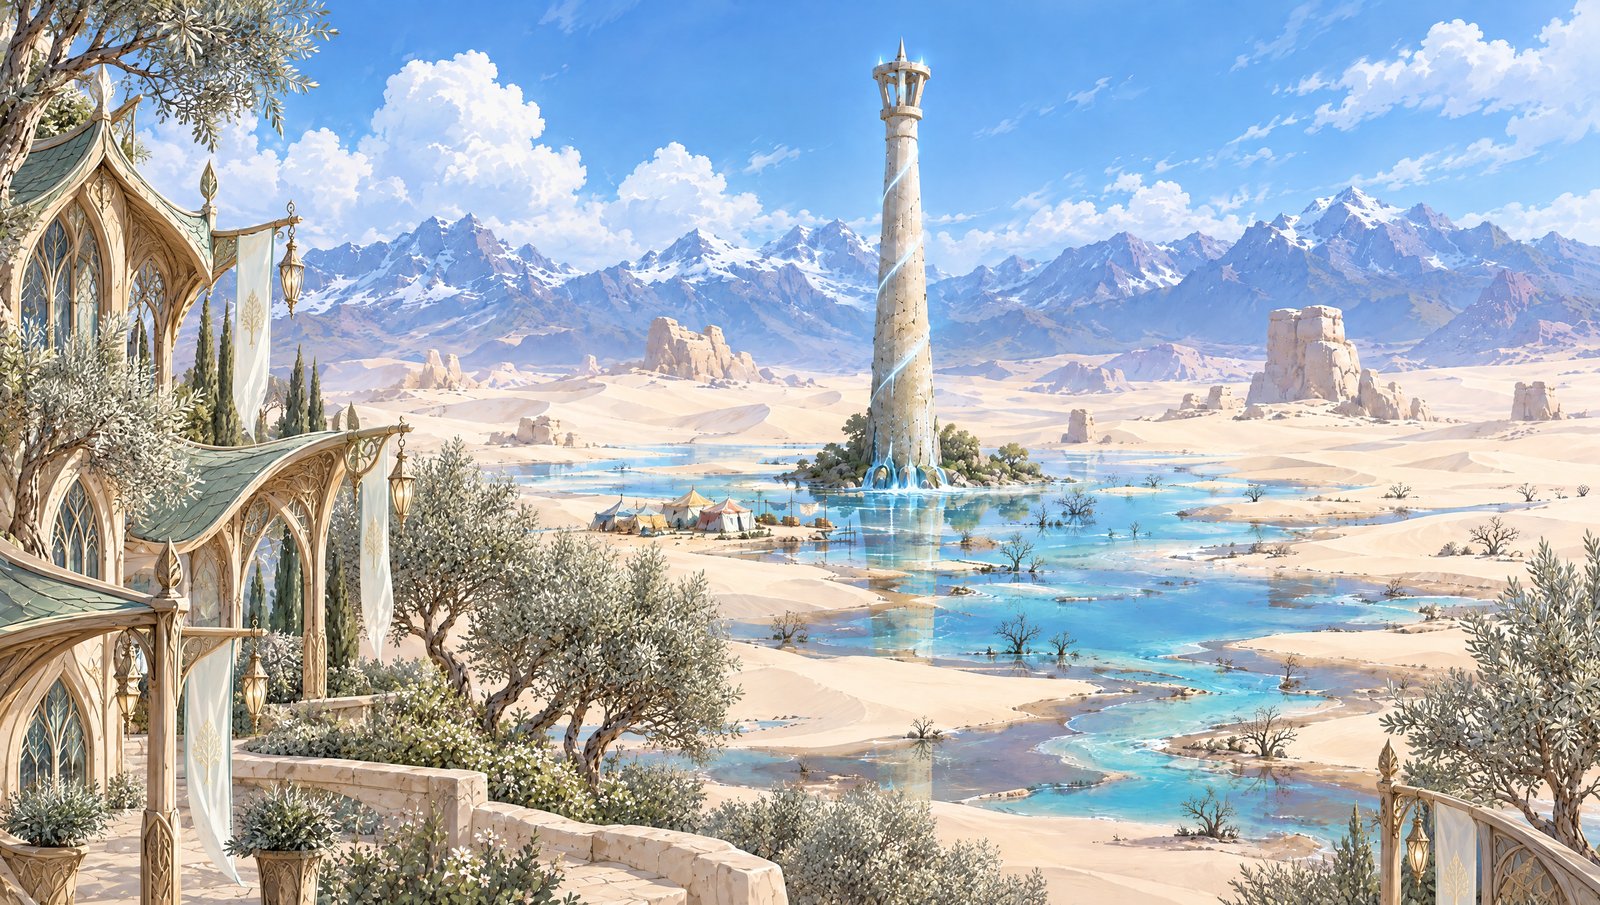
Zones: the forest hills, home to the red tower village, where Fire awakens; the pale desert, holding the Water spire and the desert-edge village; the southern mountain chain, the backdrop to the first playable area; the south-eastern highlands, where the keeper watches; the south-eastern coast, near the southern dock; and, reached by a sea route, the eastern island. The island is planned.
Landmarks: the Water spire, its flood spreading endlessly over the dunes; the red tower; the southern chain's peaks, seen from the first playable area.
Settlements: the red tower village, burning when the hero first reaches it and lived-in again once the fire is out; the desert-edge village, home to some of the stone-taken village's survivors; the southern dock; the keeper. The Water claimants, camped at the flood's edge, are planned.
North-west
Look: a snow plateau of ice crystals behind a mountain wall, with fire burning endlessly in the snow at the spire; below the wall, a basin of lakes, then rolling western plains reaching a rugged west coast.
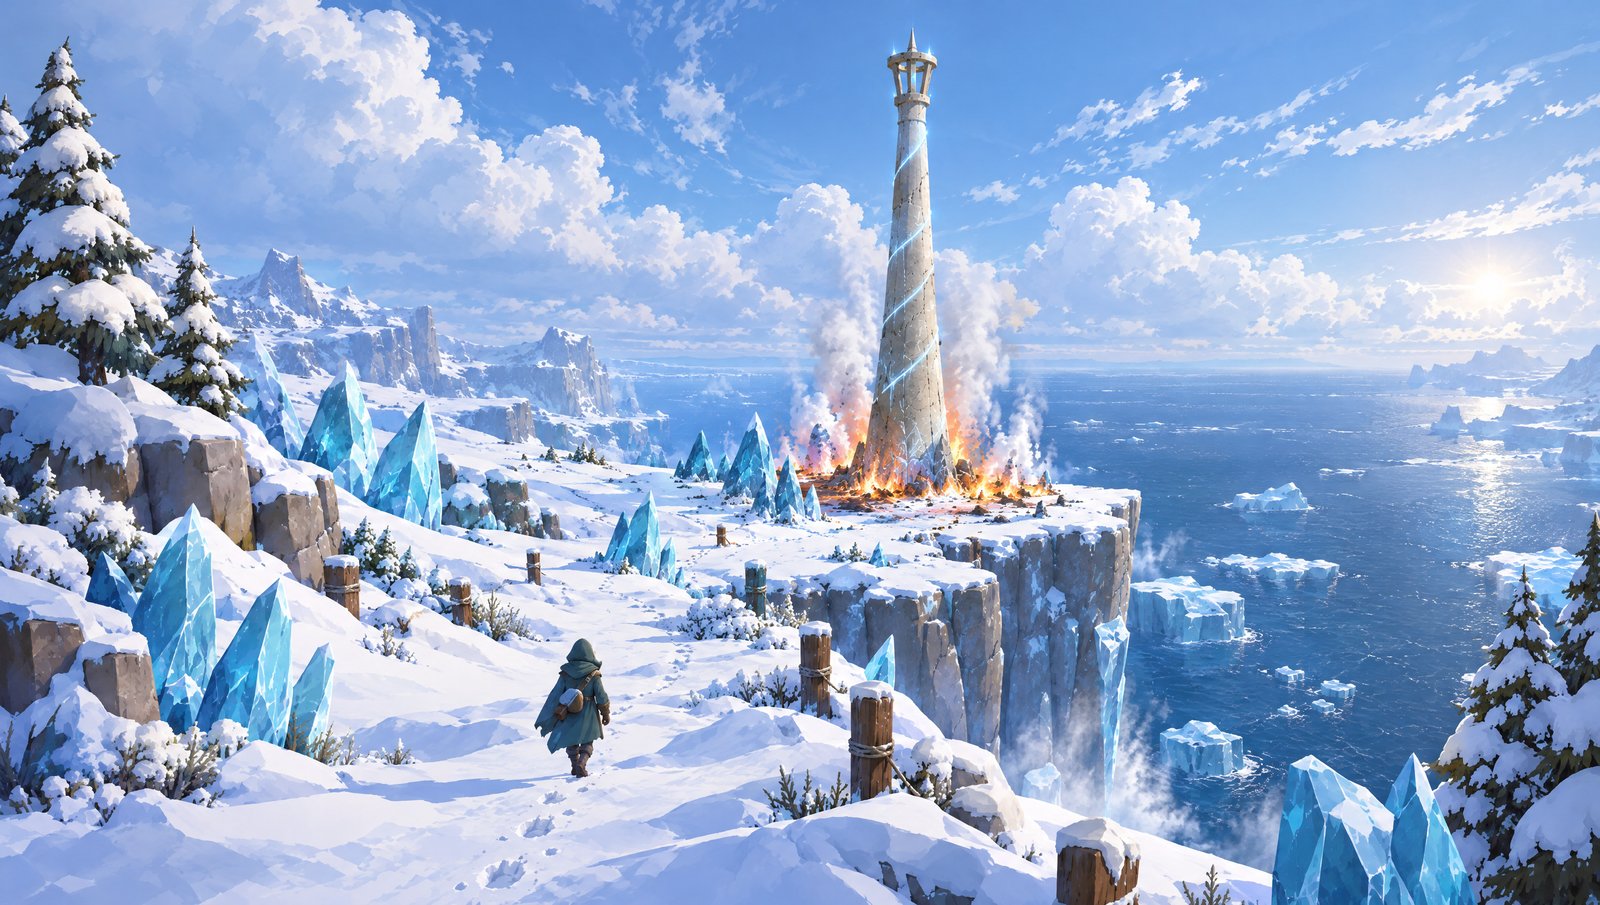
Zones: the ice field, holding the Fire spire on a sea cliff; the ice peaks, a crystal backdrop and the hardest climbs in the game; the northern mountain wall, carrying the road's pass; the mountain-foot basin, home to the dwarves' village and its lakes; the central-western plains, holding the restorers' stronghold; and the western hills and coast. A new west-coast village here is planned.
Landmarks: the Fire spire, burning in snow with a sea cliff at its back; the mountain pass that frames the spire from the road; frozen lakes; the restorers' red-walled stronghold.
Settlements: the mountain-foot village (dwarves); the keeper by the basin; the restorers' stronghold. A west-coast village and a Fire claimant camp on the ice-field road are planned.
Still Isle
Look: pale tundra and scrub, rings of ward-stones catching a violet aurora, and a small hermitage above a quiet strait, reached by a ferry jetty on the heartland's north shore.
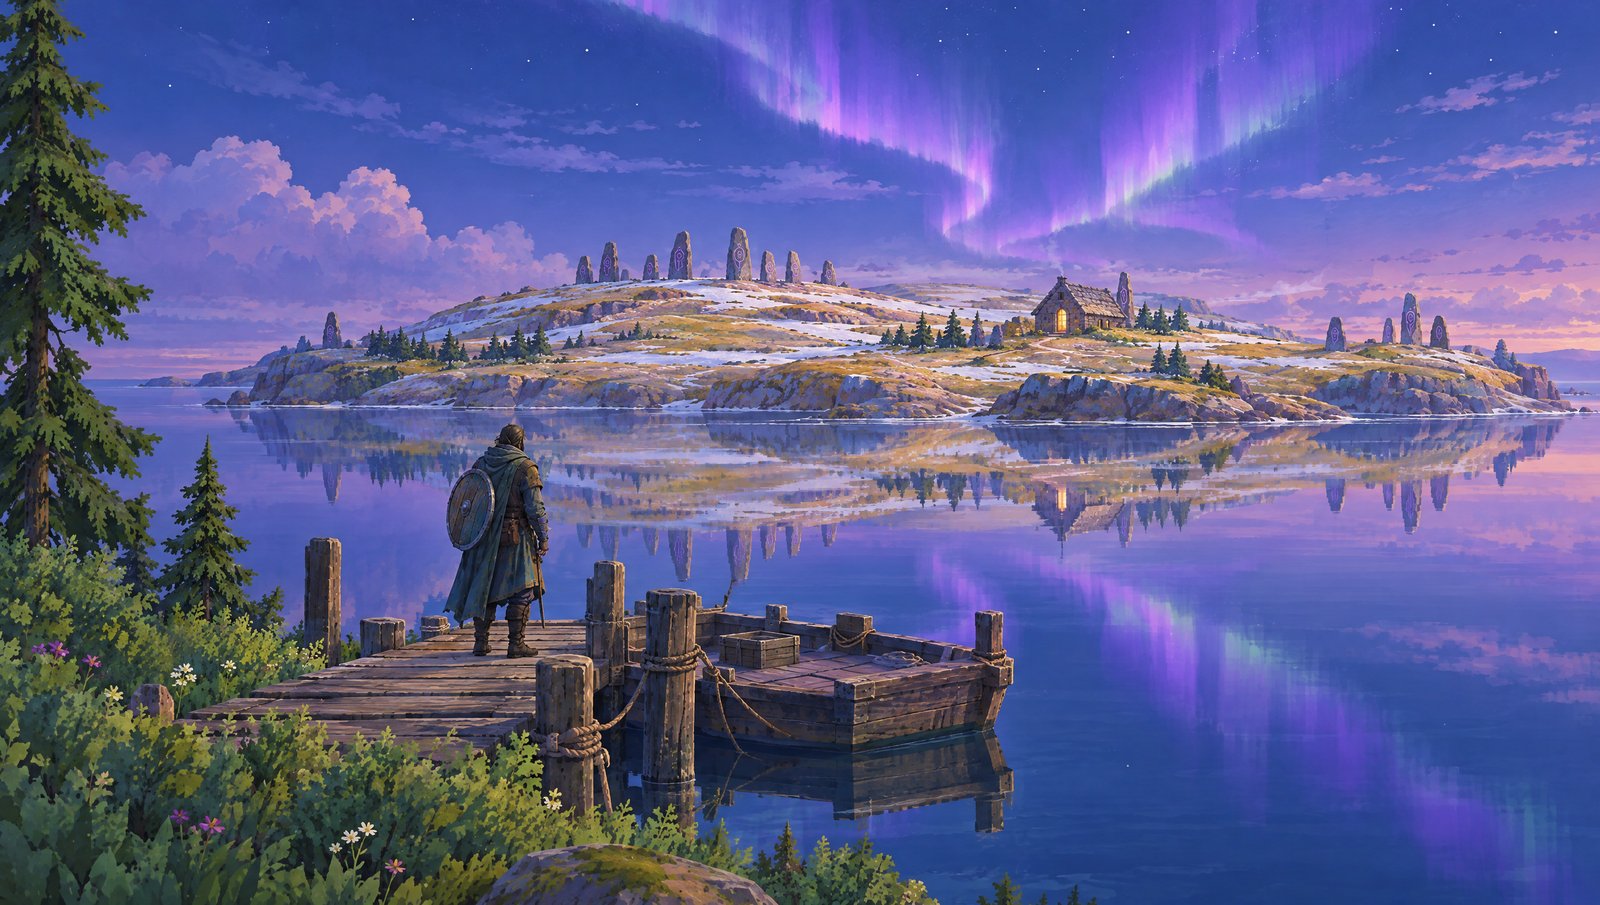
Plan: the tundra island is now the Still Isle, Aegis's place. Once all four spells are held, a required ferry ride here — about an hour from the city — closes out act one: it's where the magic parry is learned, and Aegis's outer talent rings open, the way a Guardian opens an element's. Aegis's basic barrier still comes with the first spell. Building it is planned alongside the heartland.
Coasts and the sea
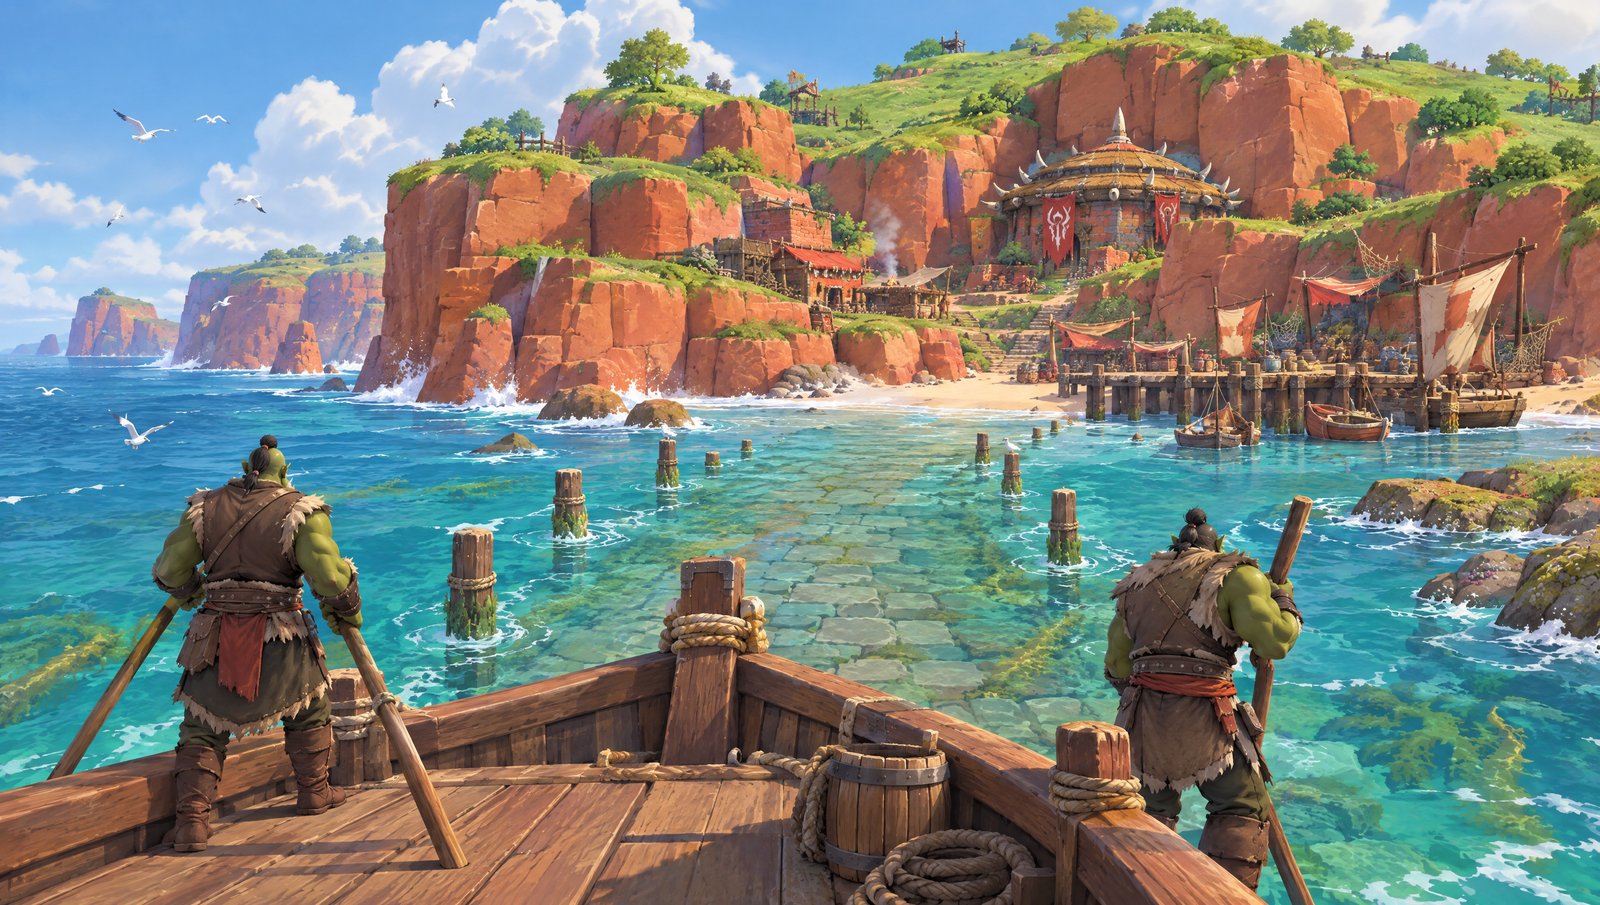
The eastern shoreline, reached by the ghost-road ferry: an orc landing on red cliffs, boats drawn up on the beach, and a truce kept between two peoples.
See World and Regions for each region's difficulty band and story role.